business processes
A Workflow Web Service location must be configured before business processes can be started from the Laserfiche client applications.
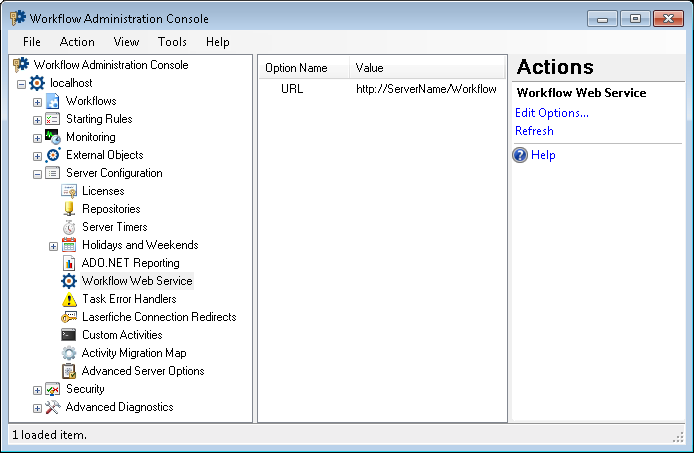
The Workflow Web Service node, under Server Configuration in the Workflow Administration Console, lets you configure the Web application directory that the Laserfiche client applications will use to connect to the Workflow Server.
If the Workflow Web Service was not configured using the Workflow Configuration Manager or if the web service location was changed from its default, this node allows you to modify the web application directory to reflect the changes.
Tip: If your Workflow Web Service is not functioning as intended, see Troubleshooting the Workflow Web Service.
![]() See a video about Configuring the Workflow Web Service
See a video about Configuring the Workflow Web Service
To open this node
- In the Workflow Administration Console's Console Pane, expand the Server Configuration node.
- Select Workflow Web Service. The center Details Pane will list the name and value of available Web Service locations.
Tip: You can refresh this list to reflect recent changes by clicking the Refresh link below Workflow Web Service in the Actions Pane. Alternatively, right-click the Workflow Web Service node and select Refresh.
To configure the Workflow Web Service
- In the Console Pane, select the Workflow Web Service node.
- Click Edit Options in the Actions Pane, or double-click a listed Web Service location in the Details Pane.
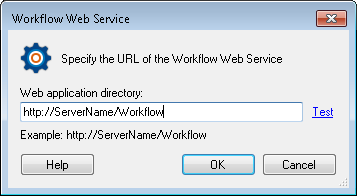
- In the
 Workflow Web Service dialog box:
 - Workflow will automatically populate the Web application directory field with a URL that contains the name of the server.
Note: If the IIS virtual directory has been changed since the first time Workflow Web Service was configured, you will need to manually configure the location to include non-default protocols or ports.
Note: If the protocol or port was modified since the first time the Workflow Web Service was configured, you will need to manually configure the location to include non-default protocols or ports.
- Check the URL by clicking the Test link.
- Click OK to save the Web application location and return to the Workflow Administration Console.
To export the contents of this node in a .csv, .xml, or .txt file
- Select the node in the Console Pane.
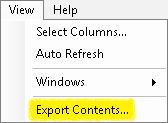
- Select View from the main menu.
- Click
 Export Contents.
 - In the Export data dialog box, name the exported file.
- Select CSV File, XML File, or Tab Delimited Text File from the drop-down menu.
- Click Save.


